Haulout, Rudder Bearings, and New Sails
Click any image to enlarge
wingssail images-fredrick roswold
 Hauled out, Rudder off, work has started.
This is the first photo I got because prior to this point in the project I was up on Wings' deck taking off the rudder. We need about 4.5 feet under the rudder to lower it enough to get it off. So I was aboard while the travel lift took us up that high, and then I lowered the rudder (after unbolting it) and then after they got the boat down and on the stands they set up a ladder which enabled me to get down I took off to the hotel where we were staying. Meanwhile the workers were sanding and filling. This is what it looked like when we got back.

 Keel
Keel
 Quarter
 Underneath
 These tools I used to knock off the rudder head.
You can't see the rope which I attached to the rudder to lower it to the ground. It's hanging out there. We'll use the same rope to pull it back up later.
 Rudder
 Old Bearing
What an ugly sight, the exposed bottom of the boat, before cleaning and painting, and the old rudder bearing still in place.
 Old Bearing
I worked a day on the bearing, and when the heat and exhaustion took over, I asked the workers to continue and I went to the hotel, for a second night. In the morning I found that they had finished it, Thank God.
 2527 Rudder tube, AND notice the hole below?
This is where the broken thru-hull fitting and valve had been. It took a day for me to get that out too THEN Judy and I worked together for another day to get it back in correctly. We were both in the aft of the boat, HOT! sweating and slithering, for about three hours. In other circumstances that would have been sexy.
 New Bearing
 Fits OK
 Fits here too, but a little loose
This is the bottom bearing. The top one I put in while the boat was in the water. It took two tries to machine that one correctly because the first time it was too tight. So when I had the bottom one made I had it done a little looser. Well, it is too loose! Never mind, we put it in and we'll see if it is OK, but it seems just a little better than the one I took out. Dang!
 Installed
 Now we have the paint on
 Looks good
Peter Vargus' guys did a lot of extra fairing, which cost us a little more, but the bottom is smooth. We like it.


 La Cruz Inn
 Sail Testing
 New CFS Genoa
 Two CSF sails, My Design
 One taffeta side gives one white side
 Kelly Likes the sails
 John is focused
 Looks high tech, Carbon Fiber looks grey through the taffeta
 Not much sag
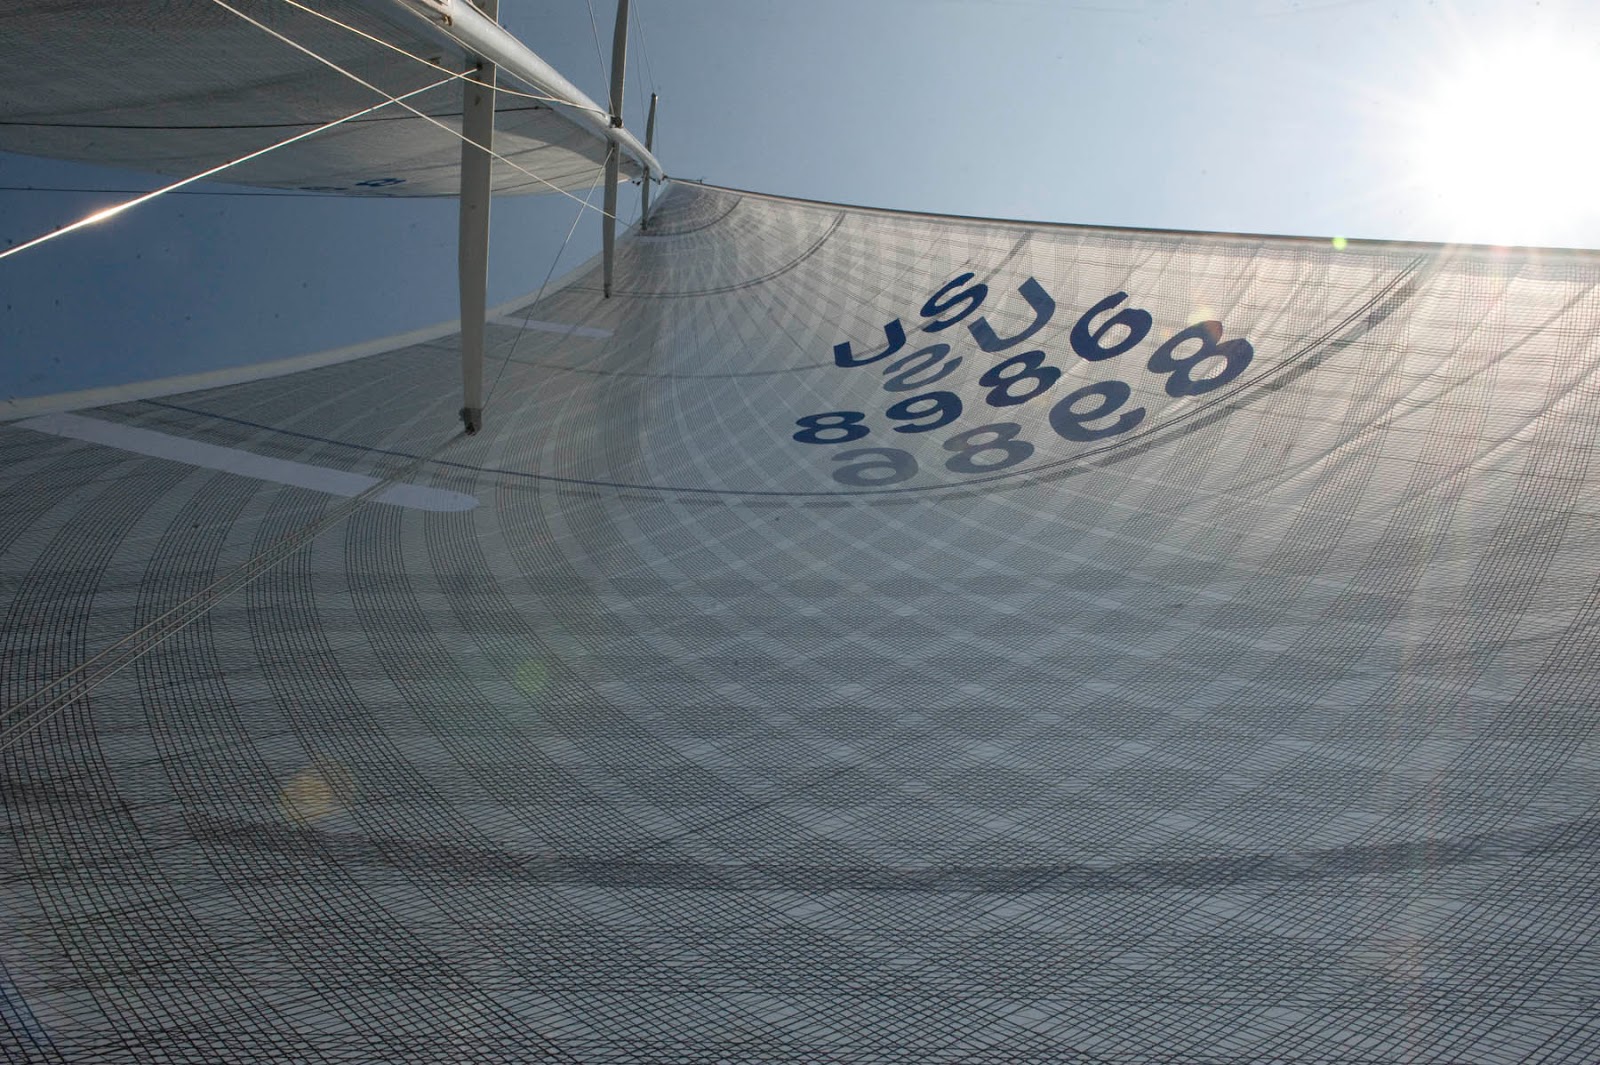
 North Number 2 genoa
 Nice 1.5 Oz Kite
 Clean Head
wingssail images-nick white

 hard reaching
wingssail images-fredrick roswold
 Then we gybed
posted by wingssail at 11:17 AM
0 comments
![]()
![]()
 Winning the Fishing Tourney
 198 kg
 Black Marlin
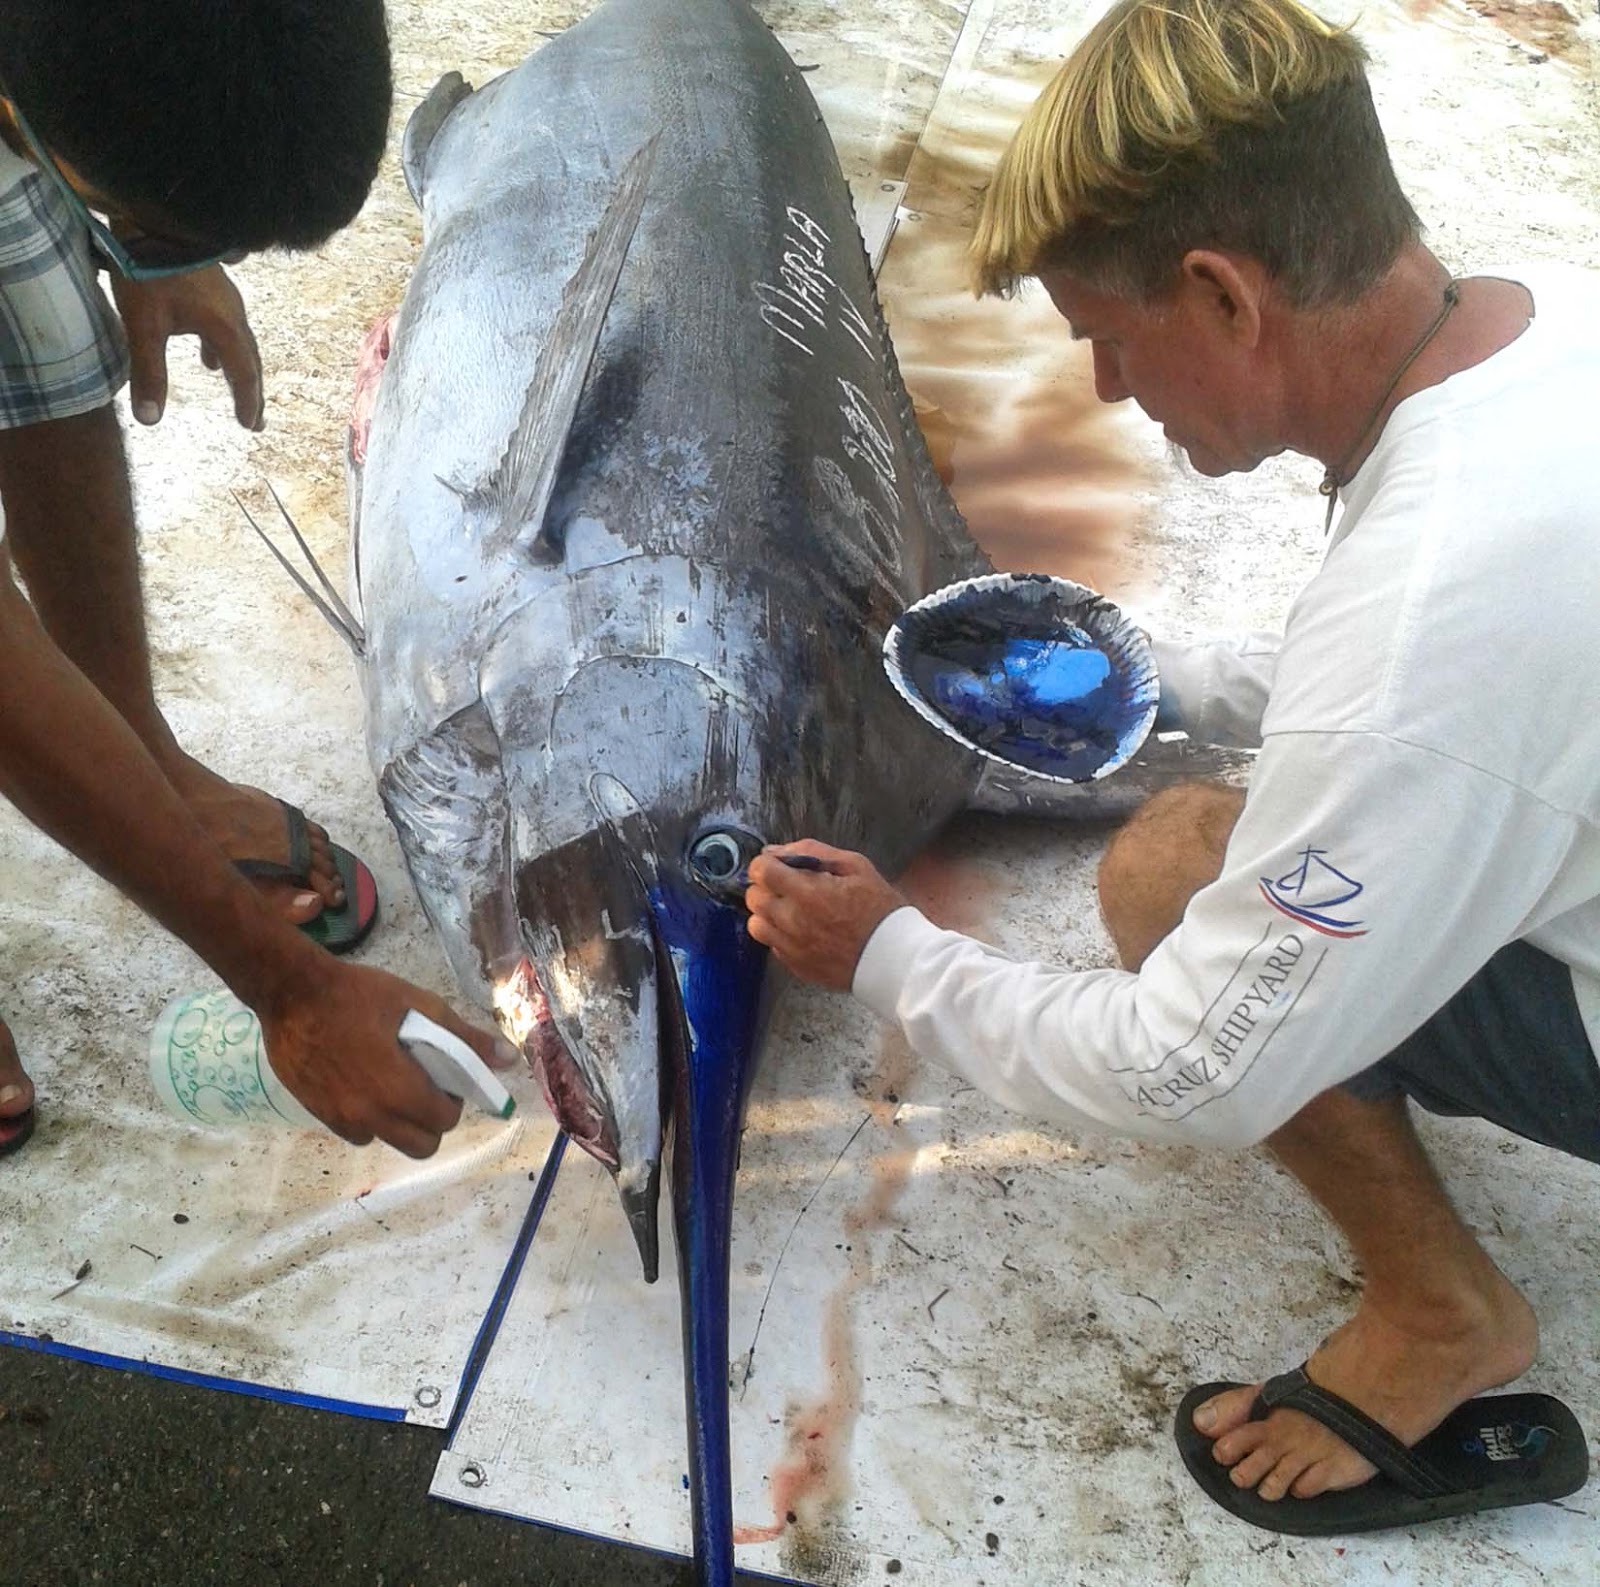 Mike Danielson Starts to work
 Applying paint
 Getting the Canvas Ready
 Pressing the canvas onto the fish
 Rolling for a good print
 Almost ready to lift the canvas
 Finished
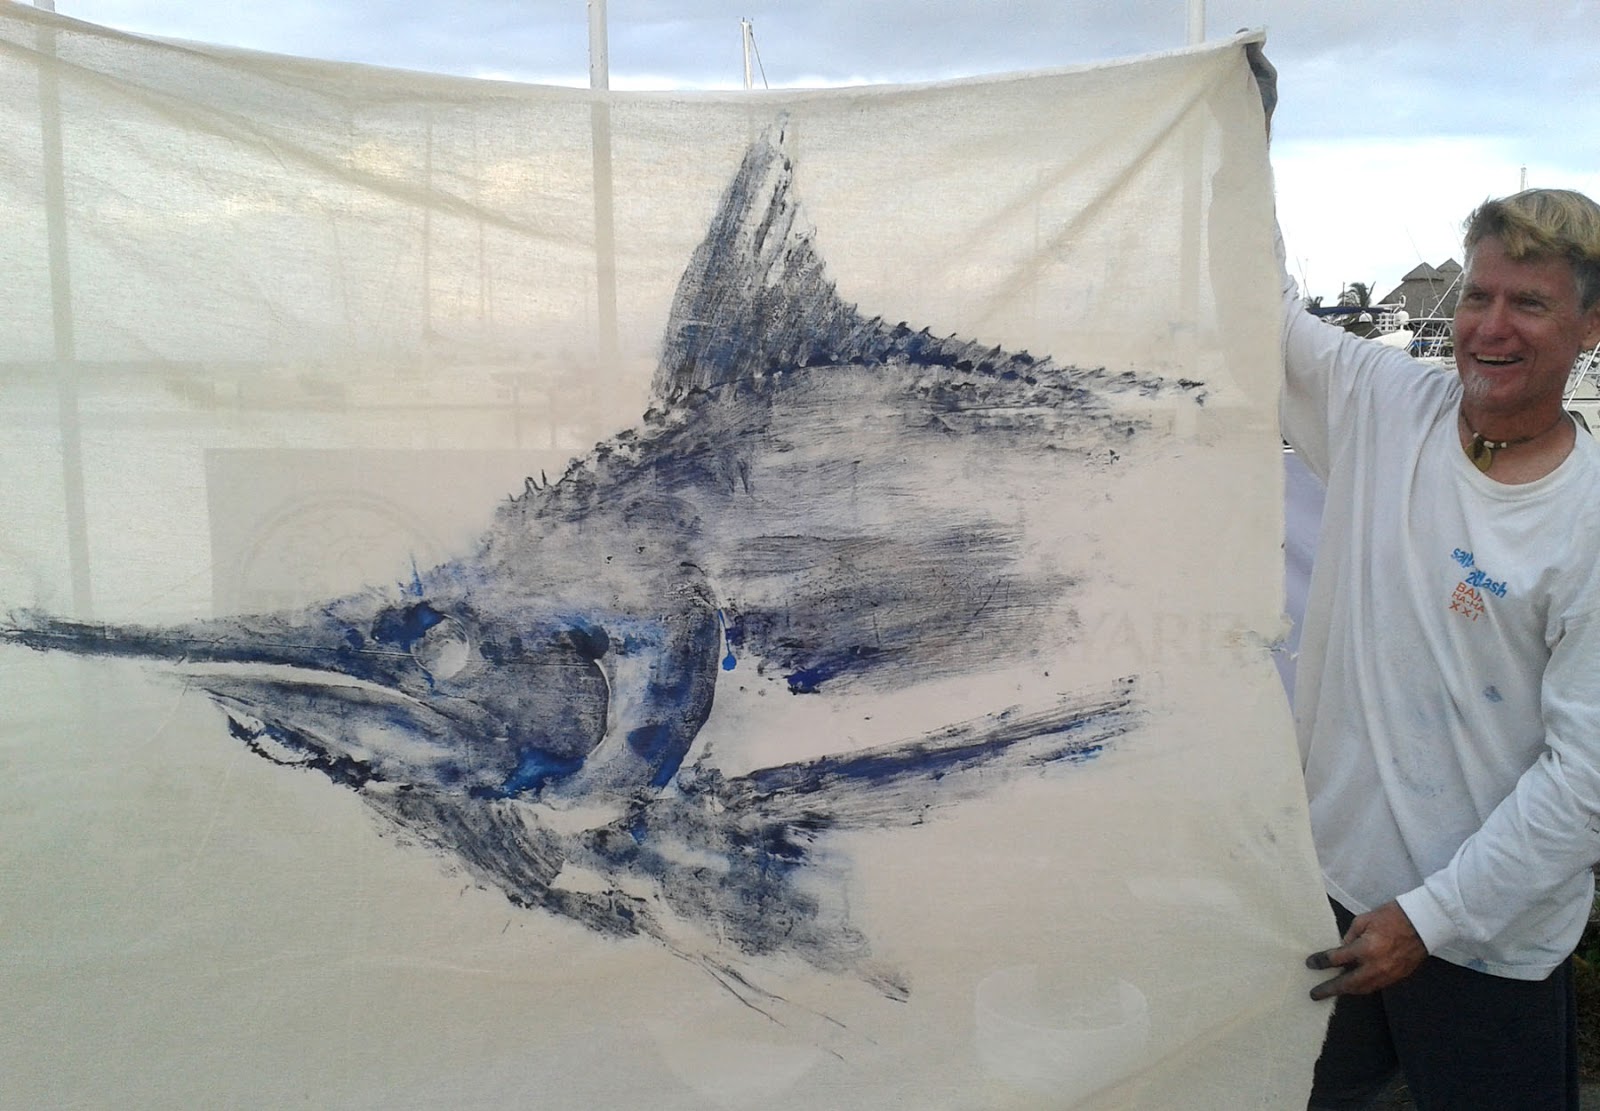 Mike is happy
 Other prints
 Kids do their own fish prints
 Spinnaker
.jpg)
